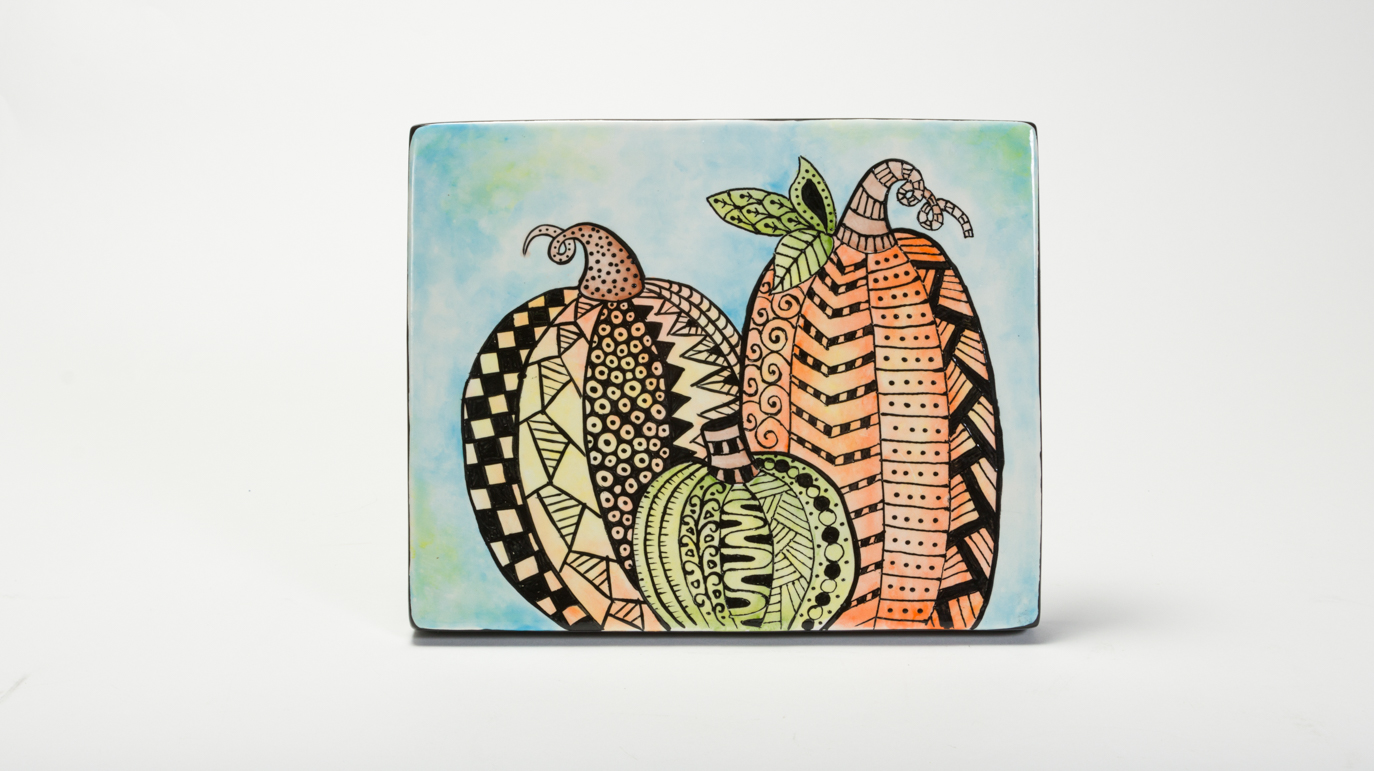
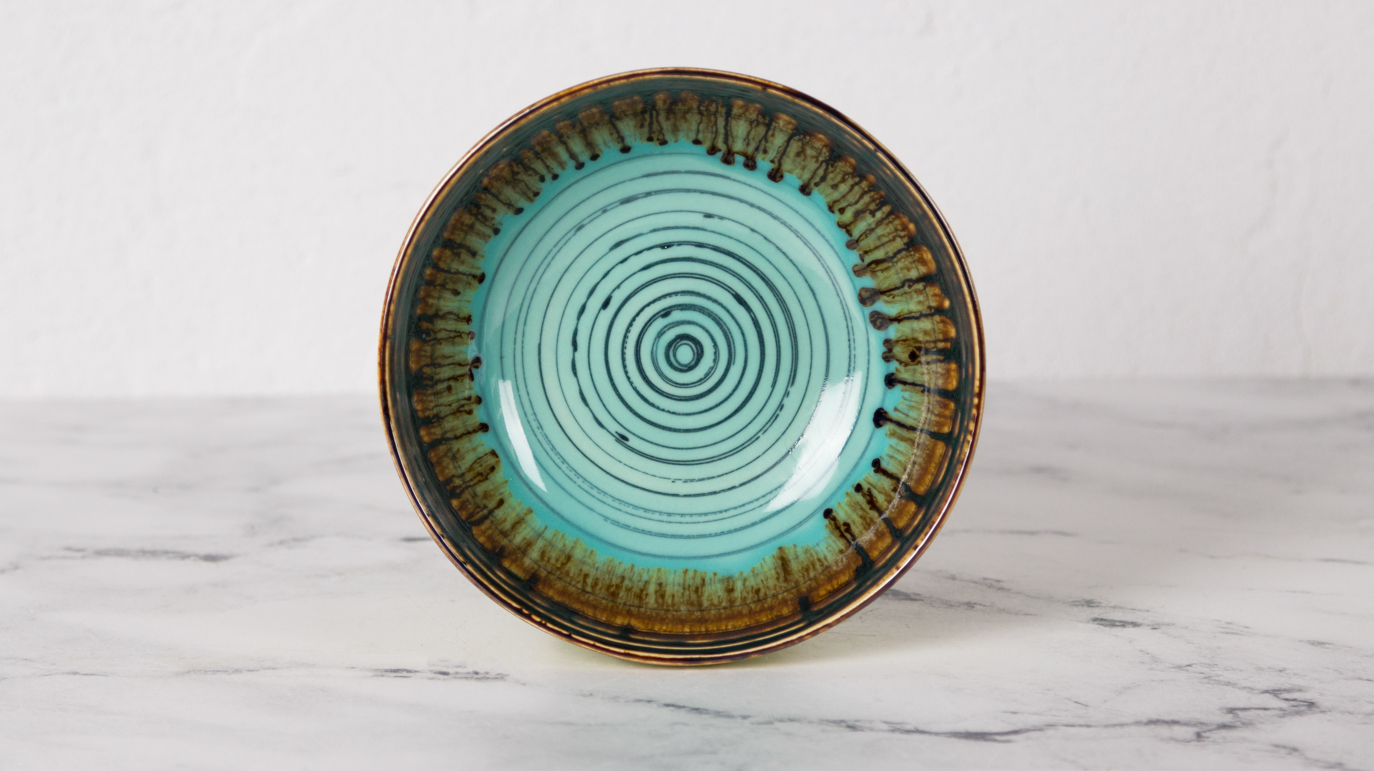
Pumpkin Doodles

Designer: Elizabeth Carey

Share

Instructions

  1. Begin with properly fired cone 04 bisque. Moisten a sponge and wipe bisque to remove any dust.
  2. Place the pattern underneath the tissue paper and trace with the pencil. Place the tissue paper pattern onto the canvas. Trace with the permanent marker.
  3. Squeeze 1 TSP of SC-6 Sunkissed, SC-11 Blue Yonder, SC-26 Green Thumb, SC-41 Brown Cow and SC-75 Orange-A-Peel onto the palette.
  4. Dip the Script Liner in water. Then dip the tip into SC-26 Green Thumb. With the brush horizontal, apply 1 coat to the small pumpkin and the leaves. Add more water or glaze as necessary to achieve a watercolor look.
  5. Repeat Step #4 with SC-41 Brown Cow on the stems.
  6. Repeat Step #4 with SC-75 Orange-A-Peel and SC-6 Sunkissed on the 2 larger pumpkins.
  7. Repeat Step #4 with SC-11 Blue Yonder and SC-6 Sunkissed on the background.
  8. Choose one of the colors for the edge of the canvas. Using the Script Liner with your selected color, apply 2 coats to the edge of the canvas. Allow glaze to dry between coats.
  9. Using SG-401 Black, outline the pattern that you traced. Then doodle a different repeating pattern in each of the sections. If you would like to use other patterns than the ones pictured, Google “Zen Doodles” for ideas.
  10. Brush or Dip into NT-CLR Clear glaze
  11. Fire to cone 06.

Supplies

Form

  • MB-1353 8×10” Clay Canvas

Colors

  • SC-6 Sunkissed = 1 oz
  • SC-11 Blue Yonder = 1 oz
  • SC-26 Green Thumb = 1 oz
  • SC-41 Brown Cow = 1 oz
  • SC-75 Orange-A-Peel = 1 oz
  • SG-401 Black
  • NT-CLR Clear Glaze (Dipping or Brushing)

Decorating Accessories

  • RB-106 #6 Script Liner

Miscellaneous Accessories

  • Sponge
  • Water
  • Palette
  • Tissue Paper
  • Permanent Marker
  • Scissors
  • Pattern
Top