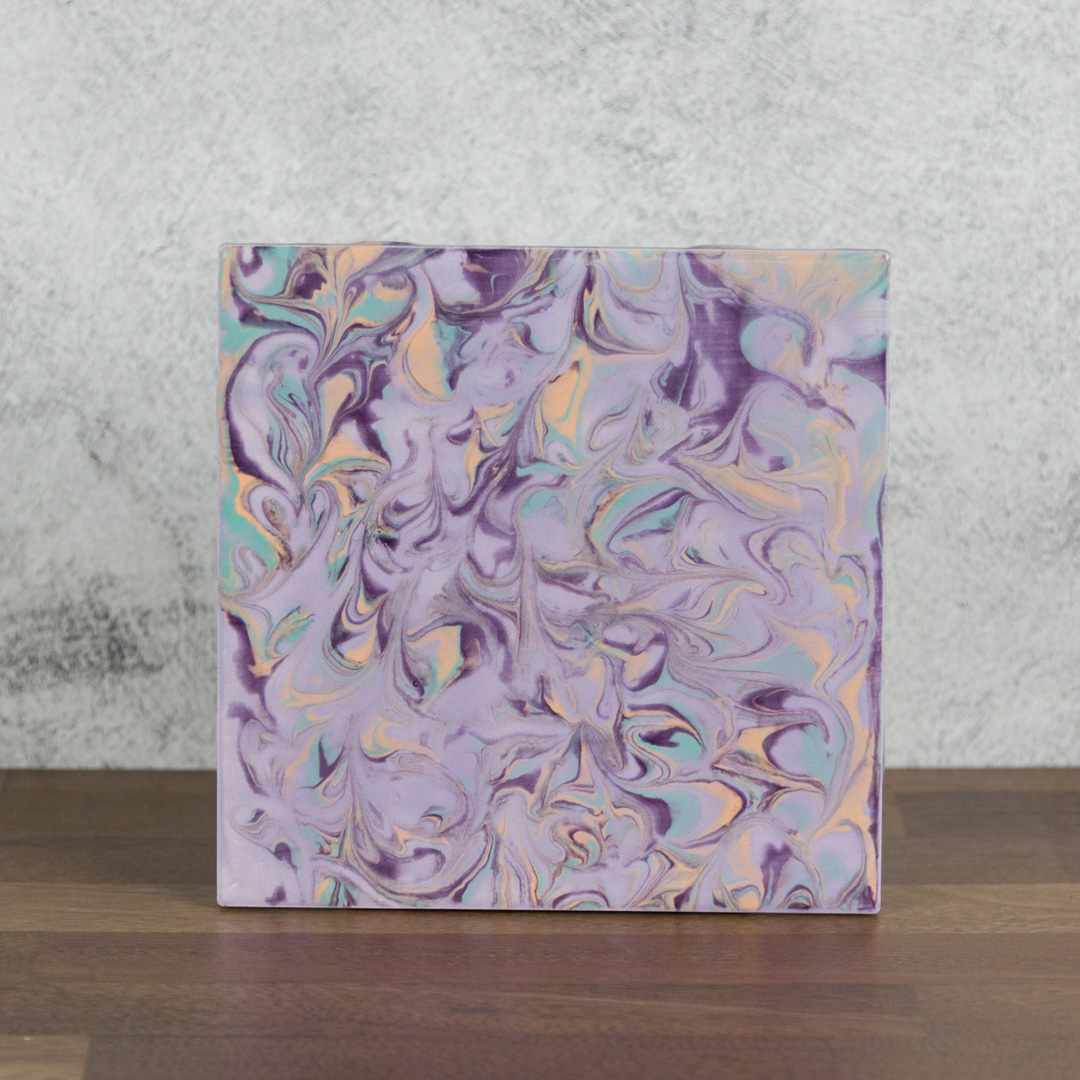
Shaving Cream Tile

Designer: Bailie Benson

Share

Instructions

  1. Squirt a layer of shaving cream into the cookie sheet.
  2. Smooth out the shaving cream with a plastic card.
  3. Using a fan brush, glaze two coats of SC103 to the whole face of a properly fired 6×6 bisque tile.
  4. Set tile aside.
  5. Squirt lines of alternating stroke and coat colors onto the prepared shaving cream.
  6. Drag a toothpick through the glaze in the opposite direction of the squirted glaze lines. Alternatively, create random swirls with the toothpick through the shaving cream for a less uniform pattern.
  7. Flip the tile face down onto the shaving cream and glaze.
  8. Let the tile sit for a few seconds.
  9. Remove the tile from the shaving cream.
  10. Turn on the water faucet to a constant thin continuous stream. (NOT full blast)
  11. Gently run the water over the face of the tile to remove most of the shaving cream.
  12. Allow the wet tile to sit and dry.
  13. Stilt and fire to cone 06.

Supplies

Form

  • 6×6 bisque tile

Colors

  • SC101 Spruce It Up
  • SC102 Just Peachy
  • SC103 Lavendear
  • SC104 Grape Expectations

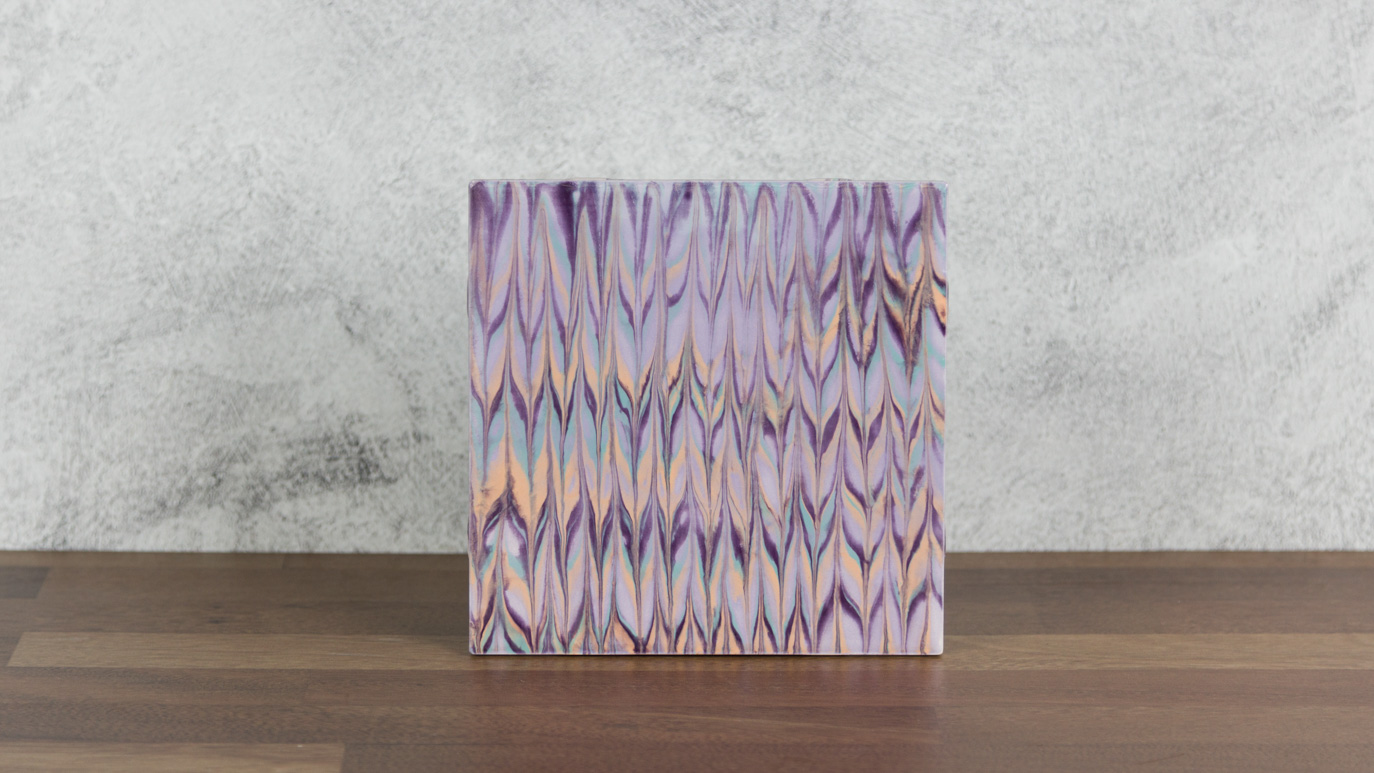
Decorating Accessories

  • RB106 Script Liner brush
  • RB144 Soft Fan brush
  • CB210 Liner brush

Miscellaneous Accessories

  • Foam shaving cream (any brand)
  • Toothpick
  • Plastic card
  • Cookie sheet
  • Sink and water faucet
Top