Sheer Sun Plate

Designer: Elizabeth Carey

Instructions

  1. Begin with properly fired cone 04 bisque. Moisten a sponge and wipe bisque to remove any dust.
  2. Use scissors to cut out the partial circle with “shine” on it from the pattern. Place it on the bottom of the plate and trace around the circle with the pencil. Remove the pattern.
  3. Take MC-002 12mm Low Track Masking Tape and place one strip going from the top of the circle to the upper edge of the plate to create sections for each ray. Continue to do this down the left and right sides from the center. You can space the tape evenly or randomly, depending on if you want the rays to be the same or different sizes.
  4. Take MC-002 12mm Low Track Masking Tape and place small pieces going around the edge of the circle. This will make a bottom border for each ray. Or draw a line around the pattern 1/2” higher for the border.
  5. Using the Script Liner with SC-97 Cant-elope, SC-42 Butter Me Up, SC-5 Tiger Tail, and SC-1 Pink-A-Boo, apply 2 coats to each of the rays. Try not to have the same color on consecutive rays. Allow glaze to try between coats. Remove the tape before the glaze is completely dry.
  6. Using the Soft Fan with SC-97 Cant-elope, apply 2 coats to the circle of the sun. Allow glaze to dry between coats.
  7. Squeeze around 1 TBS of SC-50 Orange Ya Happy, SC-24 Dandelion, SC-25 Crackerjack Brown, and SC-95 Pinkie Swear onto the palette. Use the sharp end of the pencil or end of a paint brush to make small dots on the bottom half of each of the rays. Use the eraser to make larger dots towards the top half of the rays. You can also make a line of dots around the edge of the sun. Below is a chart of the colors as shown.
Base Color Dot Color
SC-97 Cant-elope SC-50 Orange Ya Happy
SC-42 Butter Me Up SC-24 Dandelion
SC-5 Tiger Tail SC-25 Crackerjack Brown
SC-1 Pink-A-Boo SC-95 Pinkie Swear


  1. Place the pattern back over the sun. Trace “Shine” with a pencil. Press hard enough so that you can see an indent. If your glaze is bone dry, you can also use AC-230 Clay Carbon Paper to trace the patter. There are also patterns for “Bright” and “Happy”, if you would rather use those words.
  2. Using the Detail Liner with SC-15 Tuxedo, outline the lettering. Add lines, dots or dashes between the rays. Allow glaze to dry to the touch.
  3. Pour out around 2 TBS of FN-203 Dry Champagne and FN-207 Orange Slice onto the palette. Using the Soft Fan with FN-207 Orange Slice, apply 1 coat over the sun, extending outward around 2 inches. Dip the same brush into FN-203 Dry Champagne and blend with the edge. Continue to the top of the plate. Repeat for a second coat.
  4. Using the Soft Fan with SC-15 Tuxedo or FN-, apply 2 coats to the back of the plate. Allow glaze to dry between coats.
  5. Fire to cone 06.


Supplies

Form

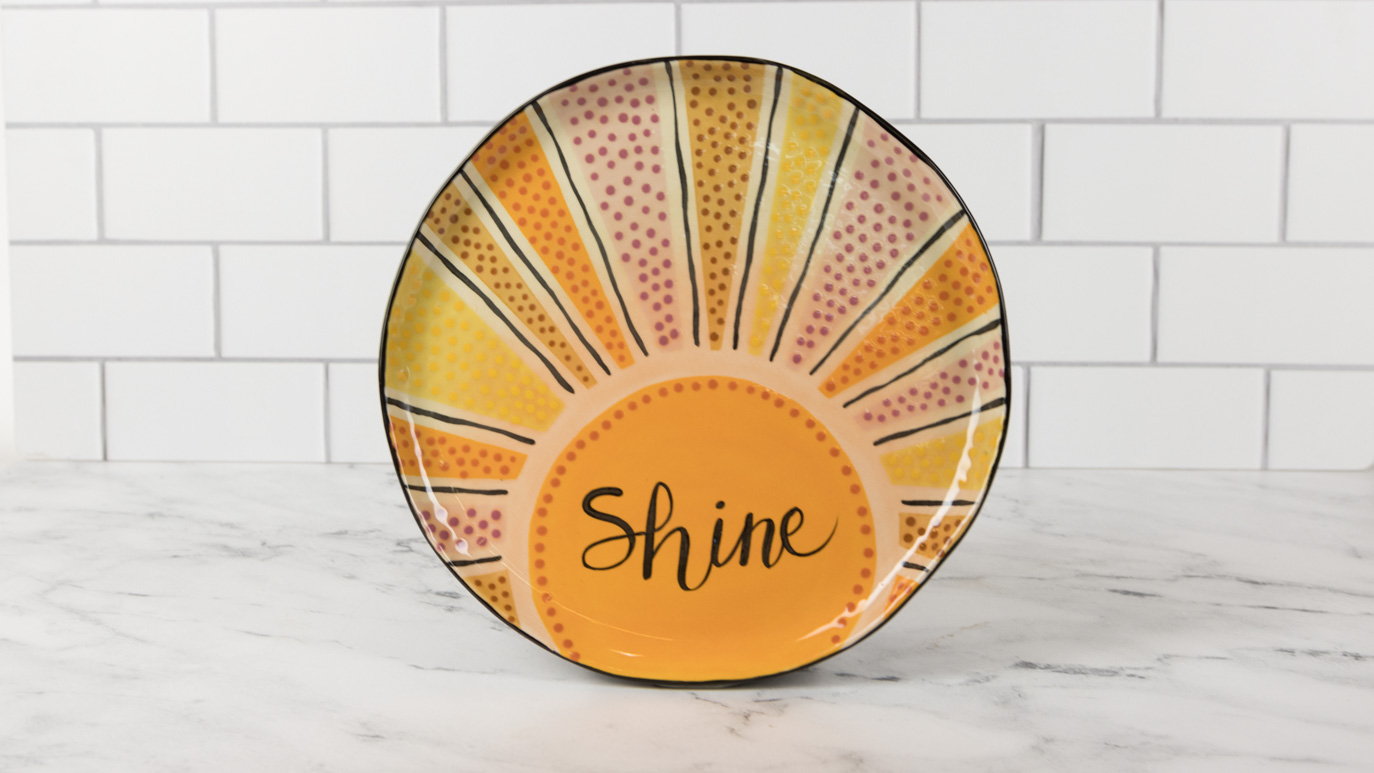
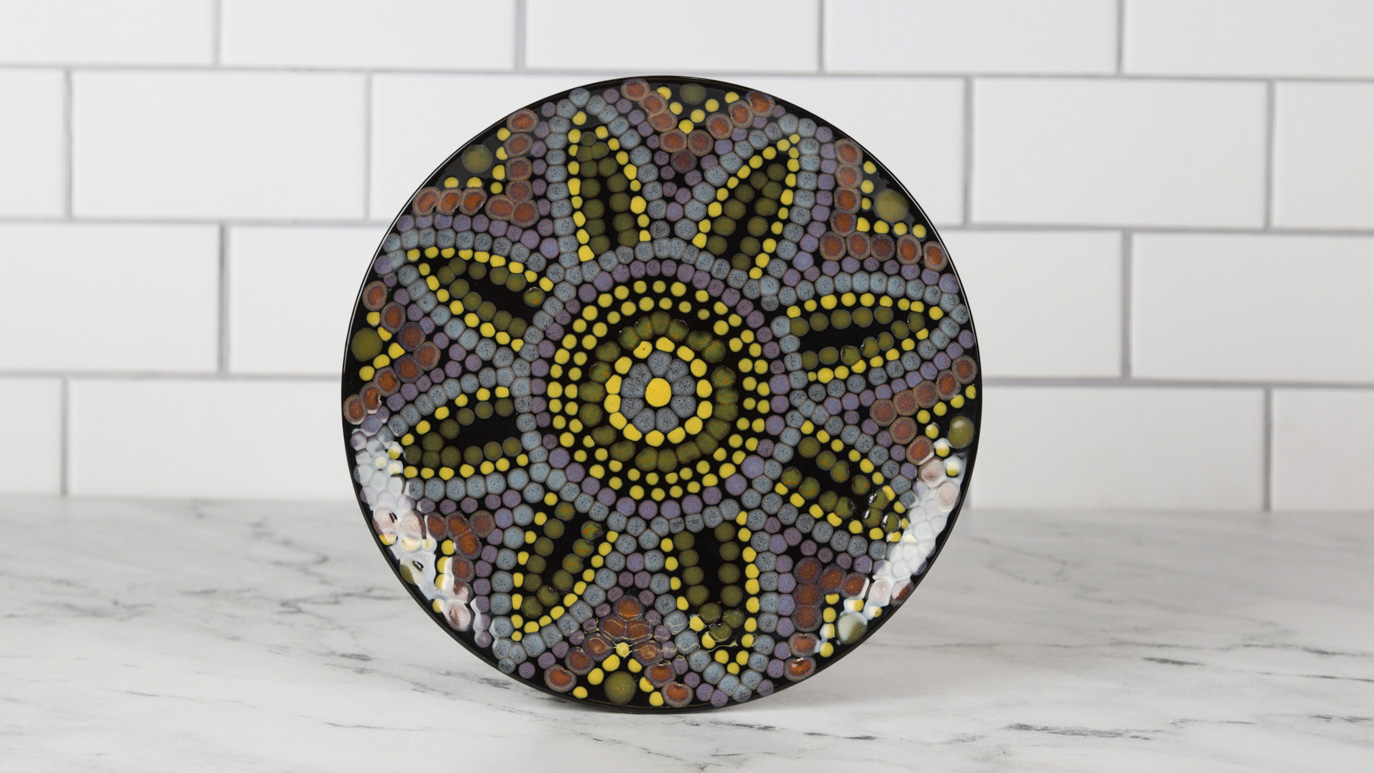
  • MB-1116 Casualware Dinner Plate

Colors

  • FN-203 Dry Champagne
  • FN-207 Orange Slice
  • SC-1 Pink-A-Boo
  • SC-5 Tiger Tail
  • SC-15 Tuxedo
  • SC-24 Dandelion
  • SC-25 Crackerjack Brown
  • SC-42 Butter Me Up
  • SC-50 Orange Ya Happy
  • SC-95 Pinkie Swear
  • SC-97 Cant-elope

Decorating Accessories

  • AC-230 Clay Carbon Paper
  • MC-002 12mm Low Tack Masking Tape
  • RB-144 #4 Soft Fan
  • RB-106 #6 Script Liner
  • RB-110 10/0 Detail Liner

Miscellaneous Accessories

  • Sponge
  • Water
  • Scissors
  • Patterns
  • Pencil
  • Palette
Top