Squish the sides of the pinch pot to create an oblong bowl shape and set aside.
From the other half of the clay, tear off a small chunk to create the eyestalks and mouth later. Cover to keep moist.
With the remaining clay, roll a thick coil with one side larger than the other.
Using your thumb and the side of your pointer finger, pinch the edges of both sides of the large coil to create the side ruffles. Lightly pull a few sections of the ruffle up on each side to give more movement.
Bend the back end of the ruffle coil to one side to form the tail section.
Lift the thick end up to form the head section.
Take the leftover clay and roll a chunky coil.
Cut the coil into two eyestalks. Remove excess length.
With the excess, roll two balls for the eyes and one small coil for the mouth.
Scratch and attach the two balls to the eyestalks.
Attach the eyestalks to the top of the head portion of the large ruffle coil.
Scratch and attach the mouth to the head.
Add texture to the body of the snail. And carve in any extra details (we used the rounded back end of a brush).
Set the pinch pot on the snail’s back close to the lifted part that makes up the head.
Mark the location of the bowl on the back of the snail and remove the bowl.
Carve down an indent on the back of the snail between the marks for the bowl to sit in.
Scratch and attach the bowl to the body.
Carve in the spiral on the bowl “shell” 10. Allow the snail to set up a bit and carve out the excess clay from the base of the body.
Allow snail to fully dry. Bisque fire to shelf cone 04.
Wipe bisque snail with a damp sponge to remove any dust or dirt.
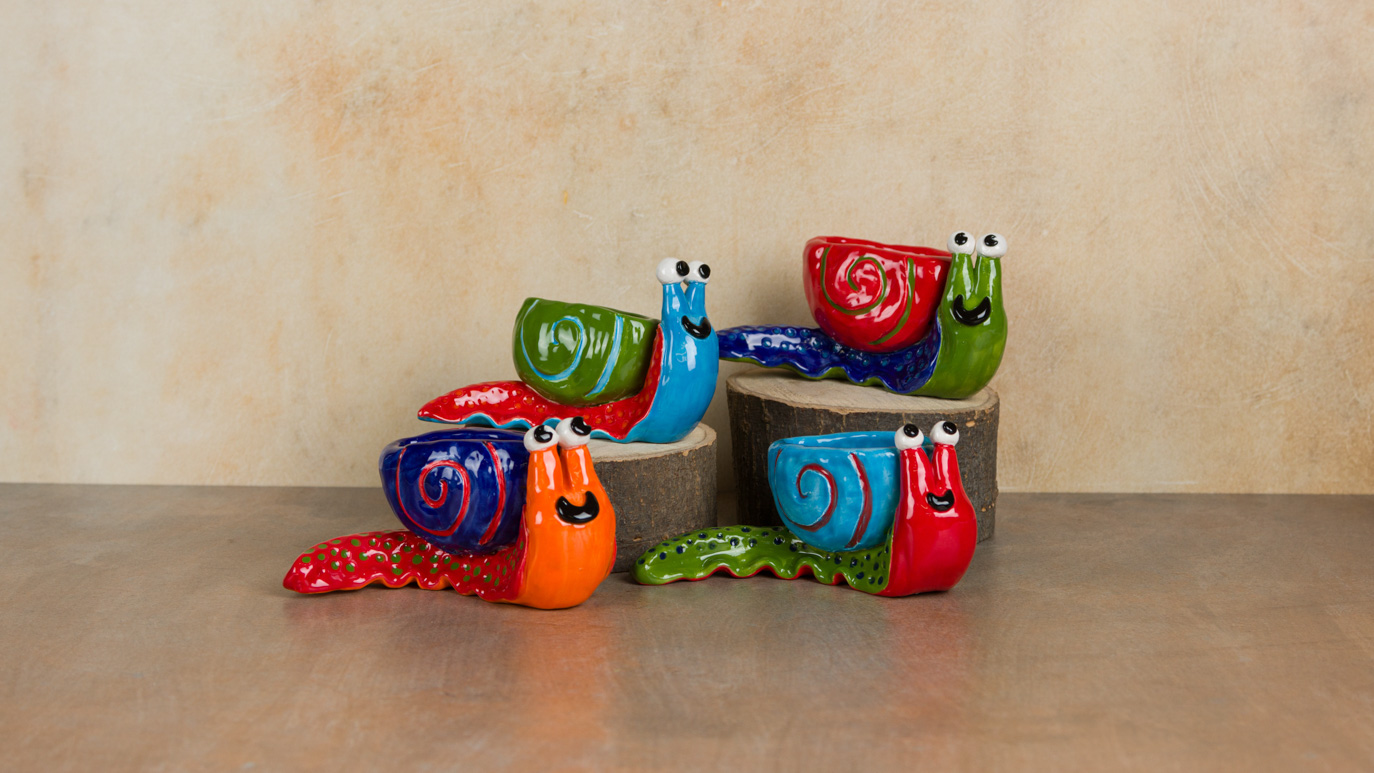
Using a script liner brush, apply three coats of glaze to the following areas: A. Snail underbelly and spiral on shell: FN- 4 Red
Snail Shell: FN-18 Light Blue
Top of snail body: FN-20 Medium Green
Dots on snail body: FN-6 Blue
Eyes and mouth: FN-9 Black and FN-1 White
25. Allow glaze to dry. Stilt and fire to cone 06.