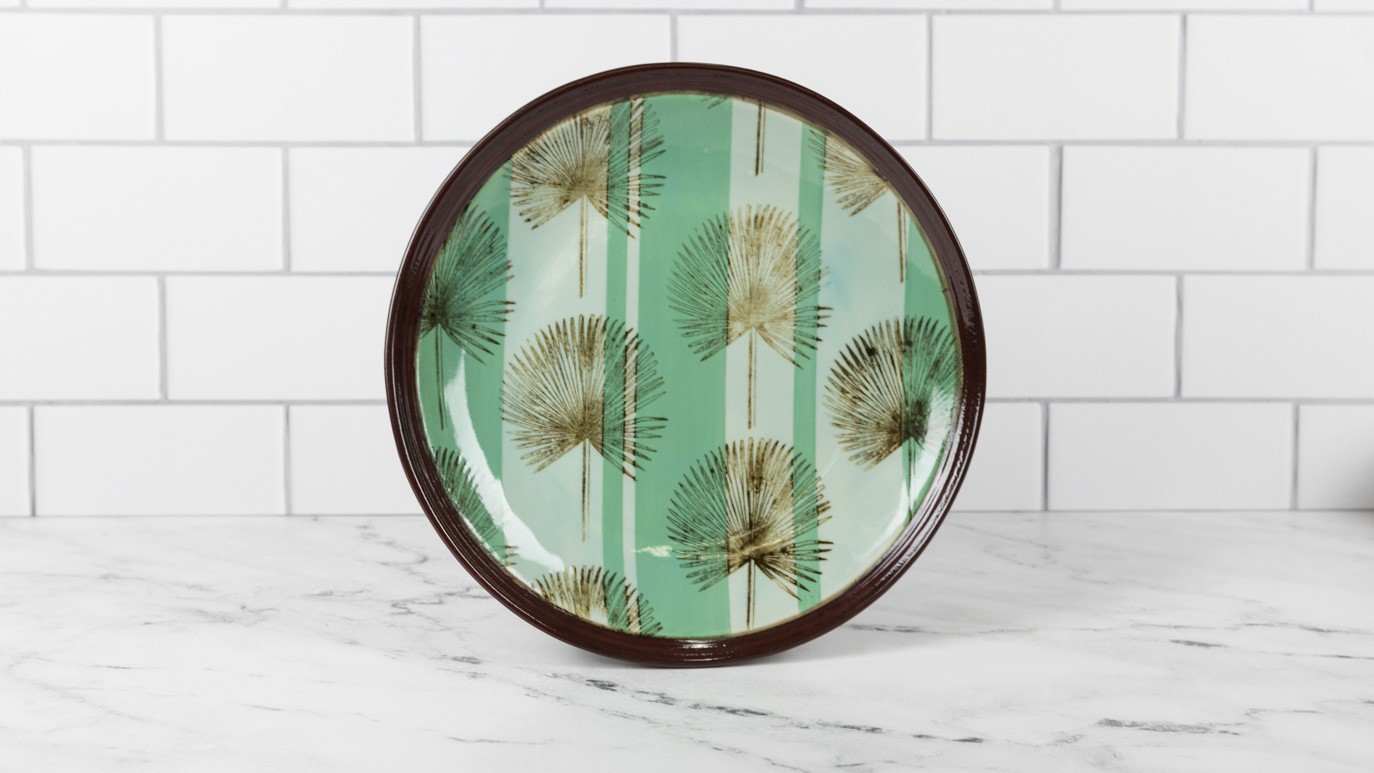
Winter Cookie Plate

Designer: David Hoff

Share

Instructions

  1. With provided pattern, clay carbon and red pen or pencil, trance the design onto the ware. Arrange the cookies as desired and one cookie may overlap another. Be sure to trace the word cookie and the scroll. The pine needles do not need to be tranced. Use the photograph as a guide for placement.
  2. Cut the stencils out using the cookie patterns, X-acto knife, stencil paper or index card. Center each cookie cutter pattern on stencil paper or index card, place the two on a glazed tile and with the X-acto knife cut through both the pattern and the paper. Carefully remove the cut center and retain both.
    1. Note: The Negative Stencil is the part with the opening cut-out. The negative is used to place colors on the ware. The Positive Stencil is the part you have cut-out of the stencil. The positive protects the area to be painted.
  3. When completing two cookies that overlap (in this case the tree over the bell and the star overlaps the holly leaf). You will be using both a negative and positive portion of the stencil. For the tree with the bell; place bell negative on the ware. Slide the tree positive stencil over the corner of the bell.
  4. Place the EZ-Strokes as needed on the page protector palette, thin with water if color is extremely thick
  5. Firmly hold stencils in place.
    1. a. Using a slightly damp sponge pick up Sienna Brown and pat off excess color on clean area of palette. With a gently pouncing motion, sponge in the Sienna Brown through the opening in the stencil. Create a textured appearance.
    2. b. Proceed to pick up Medium Mahogany on a clean area of the sponge. Very lightly sponge a lacey coat of the Medium Mahogany over the previously applied Sienna Brown.
    3. c. Pick up a small amount of French Brown on the sponge proceed to add this deeper color around the cut edge of the stencil.
    4. d. Carefully remove both positive tree and the negative bell.
    5. e. Align the tree negative stencil, so that the opening butts-up to the bell. Repeat steps a, b and c.
    6. f. When the tree stencil is removed, the tree should appear to be overlapping the bell.
    7. g. The star and holly leaf are completed in the same manner.
    8. h. The remaining cookie stencils are completed just using the negative portion (stencil with opening.
  6. Complete lettering with Cobalt Jet Black, #1 Detail and #2 Detail Liner. Carefully fill in each letter, with two thin coats of color.
  7. On the palette squeeze out Red Designer Liner, thin slightly and fully load #2 Detail Liner with color. Generally following the pattern, pull in the scroll work to the left and right sides of pizza stone.
  8. The cookies are decorated by using the Designer Liners. You can decorate the cookies as desired. For this sample, various colors were used. You may choose only to use white to achieve a white icing appearance.
  9. On the palette squeeze out both Green and Bright Green Designer Liner and thin with water to brushing consistency. Fully load the #10/0 Mini Liner with both thinned greens and pull in pine needles through out the design. Pine needles are pulled out from the edge of the cookies.
  10. Add a smooth outline here and there along the outer edge of cookies with thinned Cobalt Jet Black. Again, using Liner of choice.
  11. Fire the piece to cone 04 to set the color. Thus avoiding any chance of smearing when the Clear Glaze is applied.
  12. Damp sponge ware to condition the piece for glazing.
  13. Pour about one ounce of Clear (cone 5-10) into a paper cup. With a dampened #8 Soft Fan, apply two coats to the top surface of the Pizza Stone (now a cookie baking sheet). The side of the ware and the back side of ware should remain free of any glaze.
  14. If available spread a thin layer of Aluminum Hydrate or Silica Sand on a clean full kiln shelf.
  15. Place the glazed ware onto the self.
  16. Fire the ware to shelf cone 6.
  17. Wipe off any Aluminum Hydrate from the back of the piece.
  18. Remove the shelf with the Aluminum Hydrate and vacuum the kiln.

Supplies

Form

  • SB-107 Pizza Stone

Colors

  • EZ010 French Brown
  • EZ011 Sienna Brown
  • EZ012 Cobalt Jet Black
  • EZ038 Medium Mahogany
  • EZ405 Green
  • EZ407 Yellow
  • EZ408 Orange
  • EZ409 Bright Green
  • EZ410 Bright Blue
  • SG-402 White
  • SG-403 Red
  • SW-001 Clear

Decorating Accessories

  • CB 110 #10/0 Mini Liner
  • CB 200 # 1 Detail
  • CB 202 #2 Detail Liner
  • CB 618 #8 Soft Fan
  • AC-230 Clay Carbon Paper

Miscellaneous Accessories

  • Sponge
  • Water
  • Pattern
  • Palette knife
  • 6″ Glazed Tile
  • Paper Towels
  • Sand Paper – 100-grit
  • X-acto Knife with Sharp Blade
  • Water Bowl
  • Clay Carbon
  • Stencil Paper or Index
  • Card 5” x 7”-5 pieces needed
  • 3 oz paper cup
  • Heavy Duty Plastic Page Protector
  • Silica Sand or Aluminum Hydrate
Top